
1.
Cut strips. 2 ”
fabric A background
1 ½ ” fabric B
1 ½ ” fabric C
3 ”
fabric A background
2.
Sew the strip set with shortened stitch length
since we will be slicing the seams into sections.
3.
Finger press seams A towards B, B towards C and
C towards A. (As a general rule, press strips
to reduce bulk and allow for nesting seams.) Press bands gently from the right
side, with enough pressure to flatten, but without stretching any bias edges.
4.
Cut pieces into 1 ½ ” segments.
5.
Pair segments, flip one and align pairs, nesting
B and C. Sew together pairs.
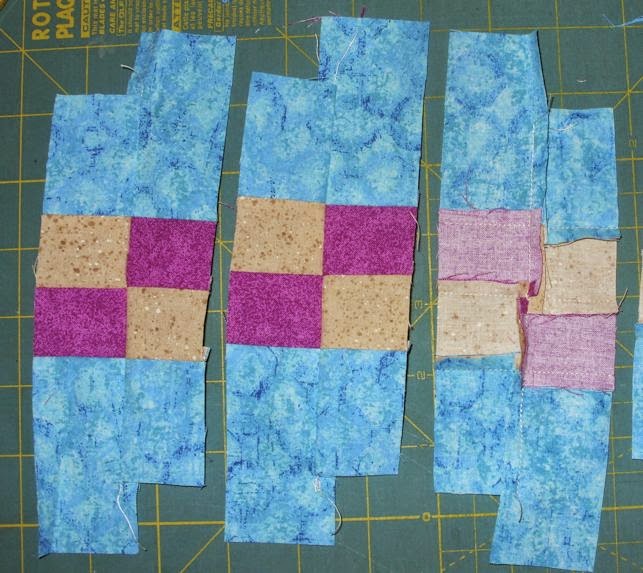
6.
Next align sets so the bottom seams of C nest. Sew together.

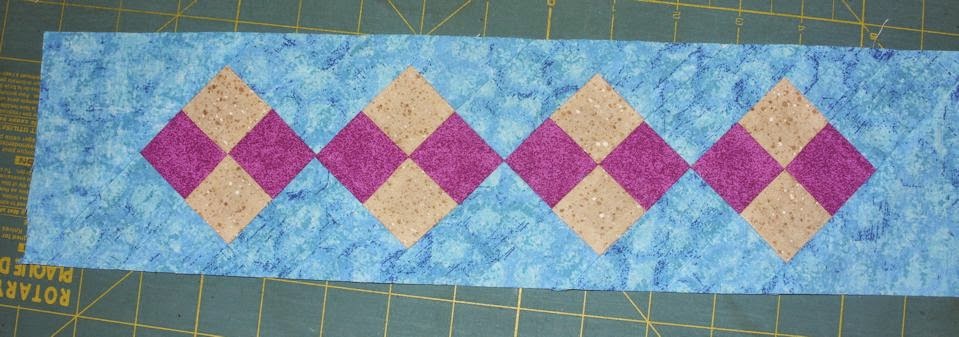
7.
Once the band is sewn together, turn it on its
side so that the squares stand up on point.
At both ends add a 4 ½” half-square triangle of the spacer fabric to
each end.

8.
Trim edges leaving a seam allowance. Band will finish at 3" high.
For narrow band to finish at 1 3/4”
high, use fabric strips as follows:
1 1/4 ” WOF
or half fabric A
1 ” WOF or half fabric B
1 ” WOF
or half fabric C
1 3/4” WOF
or half fabric A
No comments:
Post a Comment